How to Deploy a Flask App to Heroku
Step-by-step instructions for deploying your Python Flask application to the Heroku cloud platform.
Gaurav Bhardwaj
Flask is a micro web framework written in Python, released in April 2010, and is developed by Armin Ronacher. Heroku is a cloud platform that allows developers to deploy their apps online free of cost. This article contains step-by-step instructions to walk you through deploying your flask app to Heroku.
1. Prerequisites
The basic requirements for getting started with the deployment is:
- Installing Git (Best for Source Code & Version Control Management)
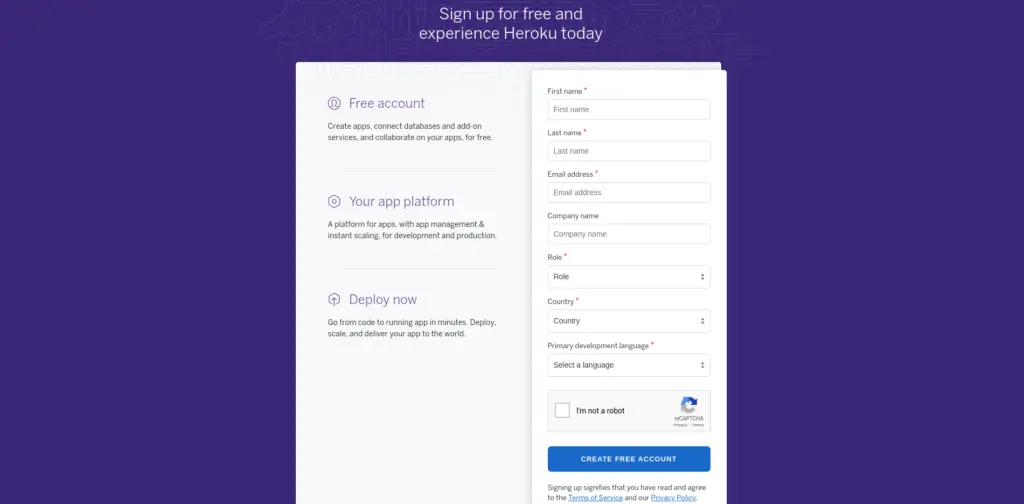
- Signup for an account of Heroku:
You can create an account on Heroku by referring to the https://signup.heroku.com/ link.
2. Installing Heroku CLI
You can configure almost everything from Heroku GUI but It is preferred to install Heroku CLI since it is highly flexible.
If you are using macOS, install Heroku via brew.
brew tap heroku/brew && brew install heroku
For Linux, you can install it by executing the below command.
curl https://cli-assets.heroku.com/install.sh | sh
You can refer to the below guide for more information on the Installation of Heroku CLI.
Installing Heroku CLI - macOS, Windows, and Linux
3. Creating Flask application
Let's create a minimal flask application following the below steps.
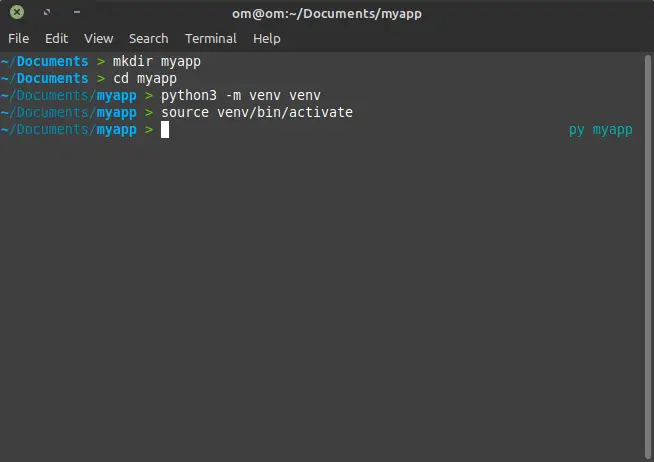
Create Flask Working Directory
Create a directory of flask:
mkdir <app_name>
cd <app_name>
Creating a Virtual Environment
You can create a python virtual environment by executing the below command.
python -m venv venv
If you are on Linux/Mac you can execute the below command for activating your virtual environment.
source /venv/bin/activate
For Windows, you can execute the below command:
venvScriptsactivate.bat
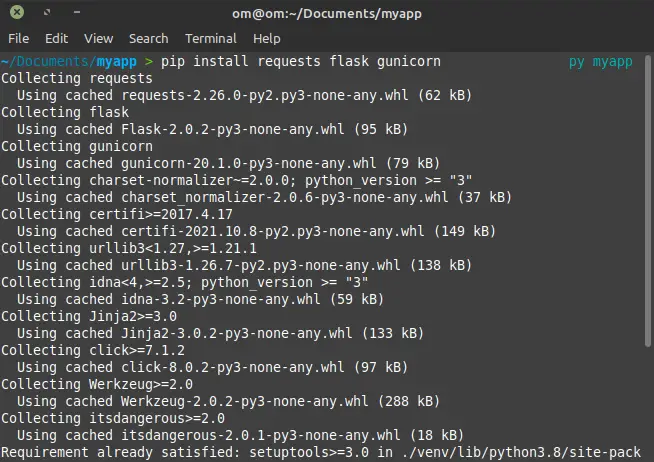
Installing flask, requests, and Gunicorn
Since we have created a virtual environment, now we will proceed ahead with the installation of the flask package.
Since we also need Gunicorn (Green Unicorn) which is a Web Server Gateway Interface (WSGI) primarily used to run flask applications.
pip install flask request gunicorn
Do you know?
Writing Flask app
Since we have all the dependencies installed to get started writing our flask application. Let's start with creating a new file - say main.py.
Let's add the following contents.
from flask import Flask
app = Flask(__name__)
@app.route('/')
def index():
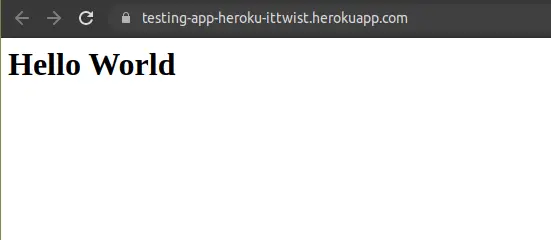
return '<h1>Hello World</h1>'
if __name__ == "__main__":
app.run(debug=True, port=5000)
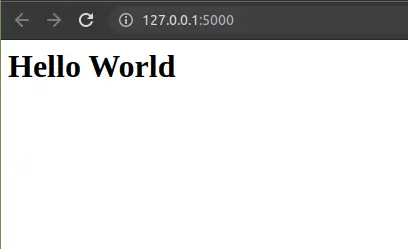
Running flask application
You can locally test your application by running the following command.
python main.py
4. Preparing to Deploy flask app to Heroku
Our flask application is ready now we just need to deploy it to Heroku.
Creating requirements.txt
Now let's freeze all the requirements inside requirements.txt by executing the below command on the command line.
pip freeze > requirements.txt
We are doing this for making sure that all of the required packages are installed while deploying the application.
Creating a Procfile for Gunicorn
For deploying the application on Heroku, we need to include a Procfile inside our project root directory. This will specify the command that is needed on startup for the execution by the app.
We can create a Procfile by executing the following command.
web: gunicorn <app_name>:app
Since in our case, the starting point of the application name is main.py. So we need to write- web: gunicorn main:app
To create the Procfile from the command line. You can simply execute the following command.
echo web: gunicorn main:app >> Procfile
5. Deploying flask application to Heroku Platform.
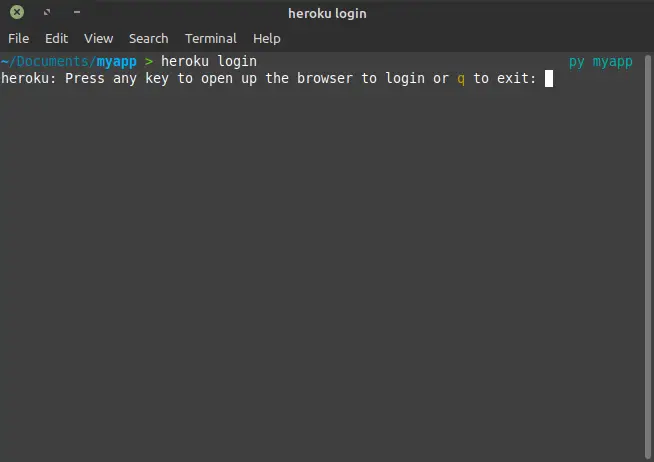
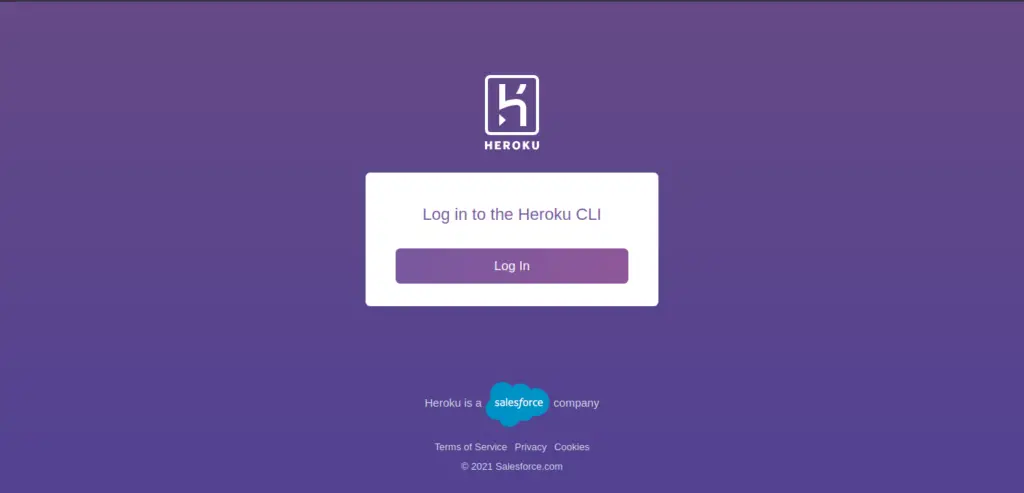
Login via Heroku CLI
First and foremost, we need to log in to Heroku.
heroku login
Creating Heroku App
You can create a Heroku app in 2 ways. One is via GUI and another one is via CLI.
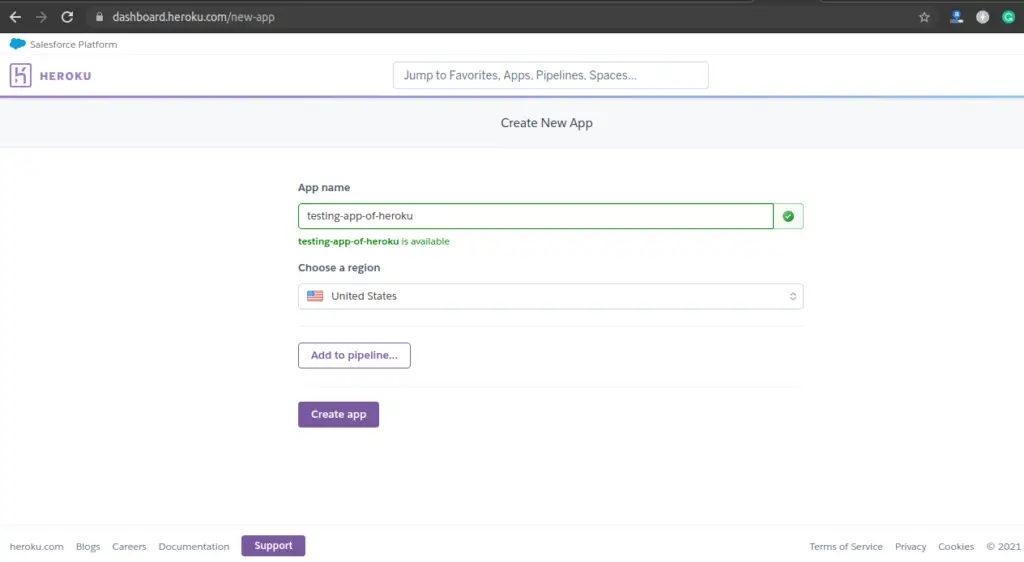
Graphical Way:
From GUI you can create an application by visiting https://dashboard.heroku.com/new-app
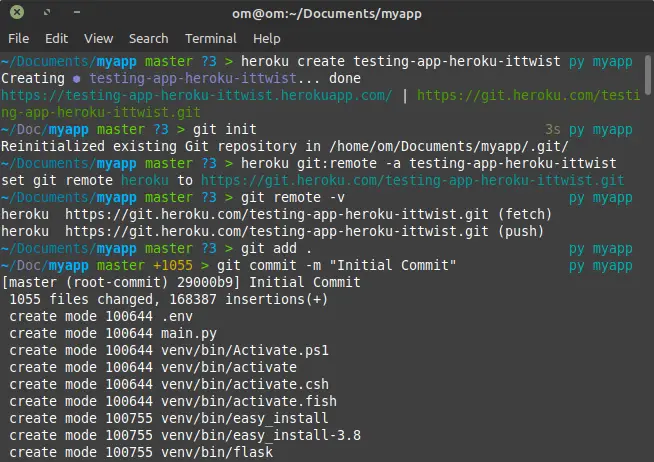
CLI Way:
From CLI you can create an application by executing the following command on your terminal.
heroku create <app-name>
Deploy flask app to Heroku via git
Adding Heroku App to Remote:
git init
heroku git:remote -a <app-name>
git remote -v
Deploying:
git add .
git commit -m "Intial Commit"
git push heroku master
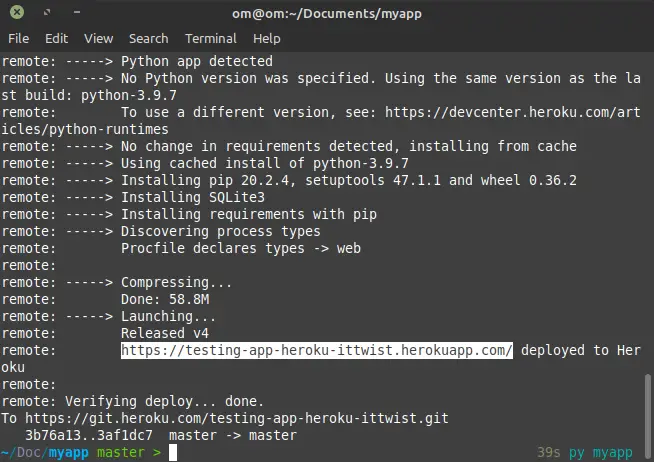
That's it for the tutorial of the "Deploy flask app to Heroku". Now your application should be live.
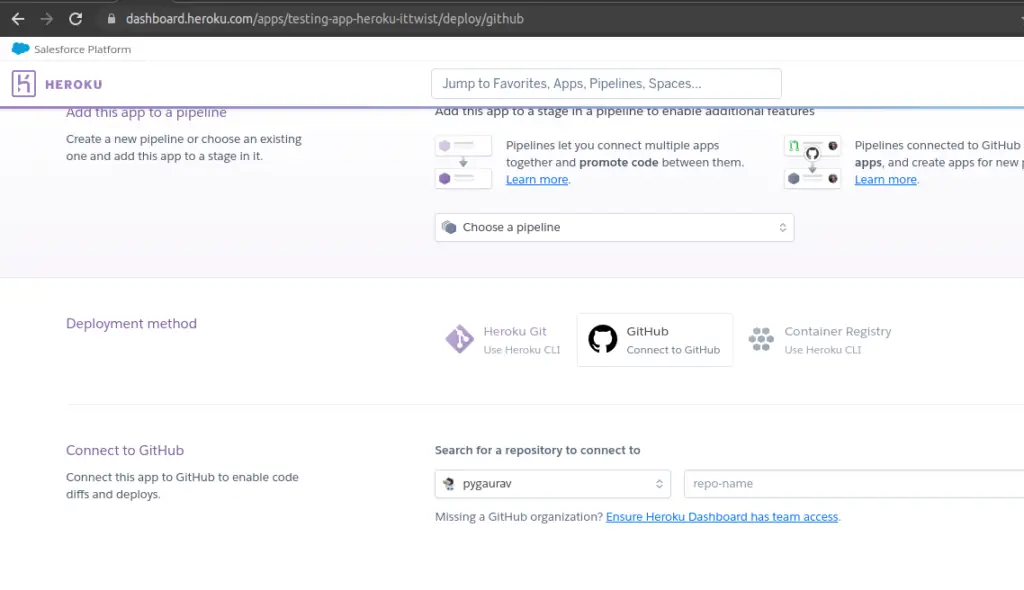
6. Deploying Heroku app via Github:
Instead of Heroku Git, you can also deploy your application to Heroku via Github.
You can push the existing Heroku application to Git Repository on Github by the following command:
git add .
git commit -m "Initial Commit"
git remote add origin <Remote Github Repository>
git branch -M main
git push -u origin main
After this, you can deploy your application from the Heroku GUI, following Github as a Deployment method.
If you have any questions or suggestions regarding this article, please feel free to write in the comment section below. We have also some interesting articles on Linux - Best Linux Distros that you should try in 2021.
Gaurav Bhardwaj
Bridging the gap between cutting-edge AI and foundational technology. As an Engineer and AI Architect, I translate complex concepts across Generative AI, Agentic systems, and Full-stack Engineering into clear, actionable insights—all anchored by deep expertise in Linux, SEO, and systems design.