Set up a Free SSL on WordPress - Linux Server with Apache

Want to set up a Free SSL on WordPress? let's start with some background of SSL. Secure Sockets Layer or SSL is used for encrypting the connection between a web browser and a web server. It is highly important for website security & moreover SEO. SSL uses a mixture of public, private, and session keys encryption to safeguard a connection between a web and a client system.
SSL Certificates, helps you to migrate your websites from HTTP to HTTPS. Typically, SSL Certificates come with a price tag, but why buy a certificate with a cost, if you can get it for free. In this article, we will learn how to set up free SSL on WordPress.
Configure Free SSL on WordPress:
As there are many unreliable providers as well who provide free SSL Certificates. We suggest the most authentic & trusted certificate authority on the web i.e. Let's Encrypt. Let's Encrypt is a non-profit certificate authority that is backed by the Internet Security Research Group (ISRG). Its mission is to make the web more secure by embracing the widespread of HTTPS.
In order, to set up the Free SSL certificate on your Linux server with Apache, first install the certbot package by executing the following command.
sudo apt install certbot
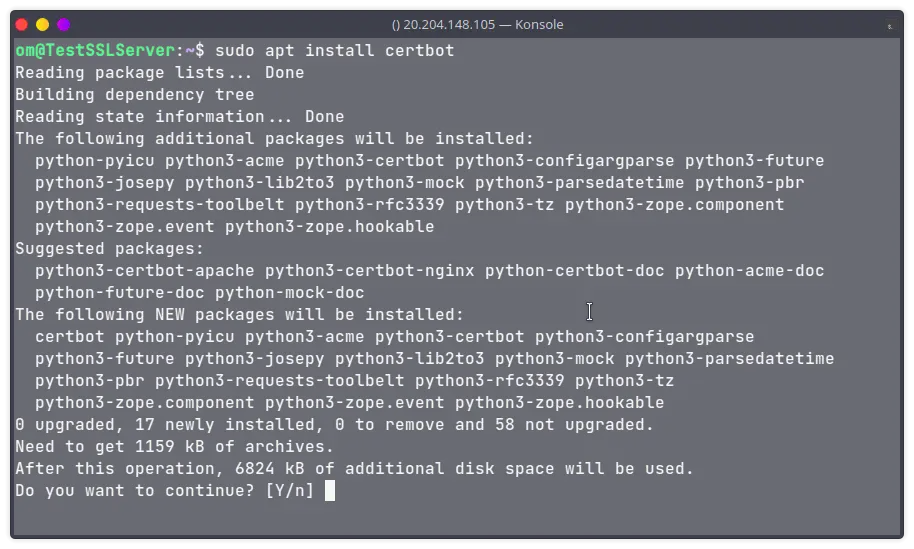
Now, the certbot utility is installed on your server. Moving ahead, we need to generate SSL Certificate files. You can execute the following command on your server, just you need to replace the directory /var/www/sample_website with the directory that contains the files served by the webserver. Moreover, you also need to replace sample_website with your domain name.
sudo certbot certonly --webroot -w /var/www/sample_website -d www.sample_website.com -d sample_website.com
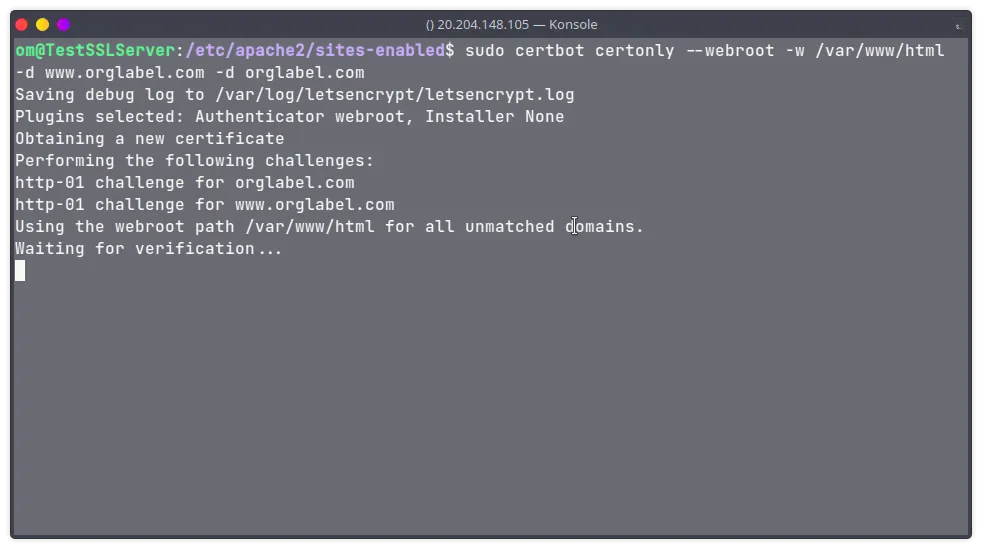
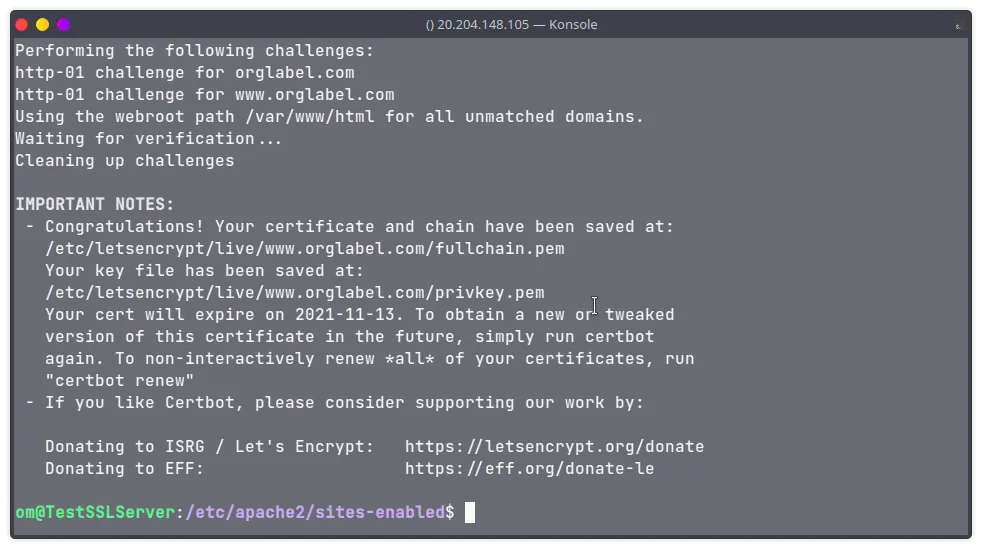
After generating certificate files, now we need to configure the Apache server so that it should point correctly to our generated certificate files. Generally, the configuration files are present in /etc/apache2/sites-enabled/default-ssl.conf file, if it is not present then you can check /etc/apache2/sites-avaialable/default-ssl.conf and you can copy this file in the sites-enabled directory.
For me, it was present in the sites-available directory so I copied the same over the sites-enabled directory.
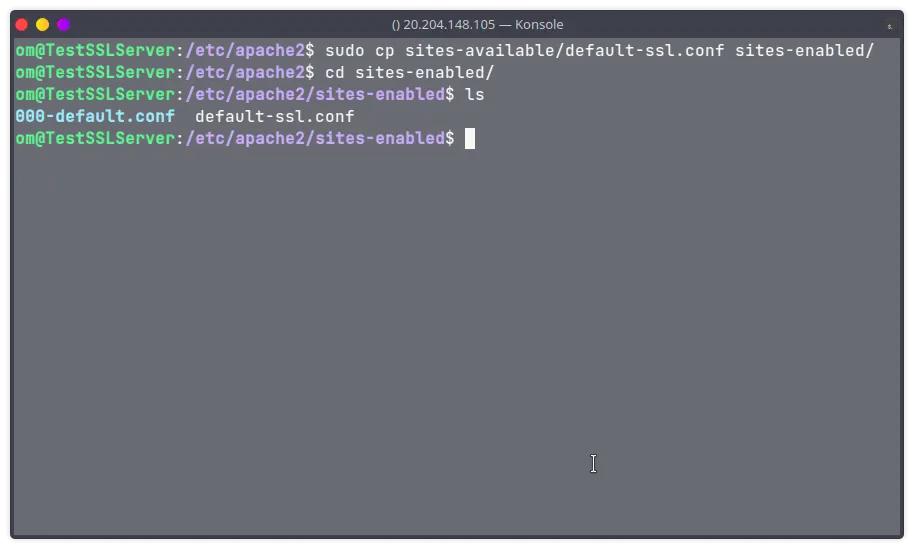
Now open the file /etc/apache2/sites-enabled/default-ssl.conf & edit its contents to point to the generated certificates files.
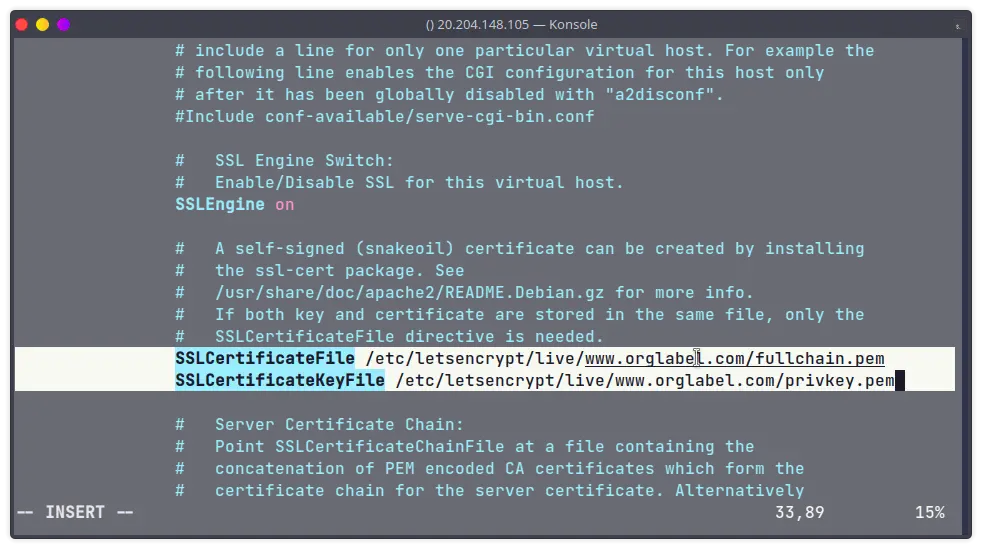
Lastly, you can execute the below commands.
sudo a2enmod headers
sudo a2enmod ssl
sudo apachectl configtest
sudo service apache2 restart
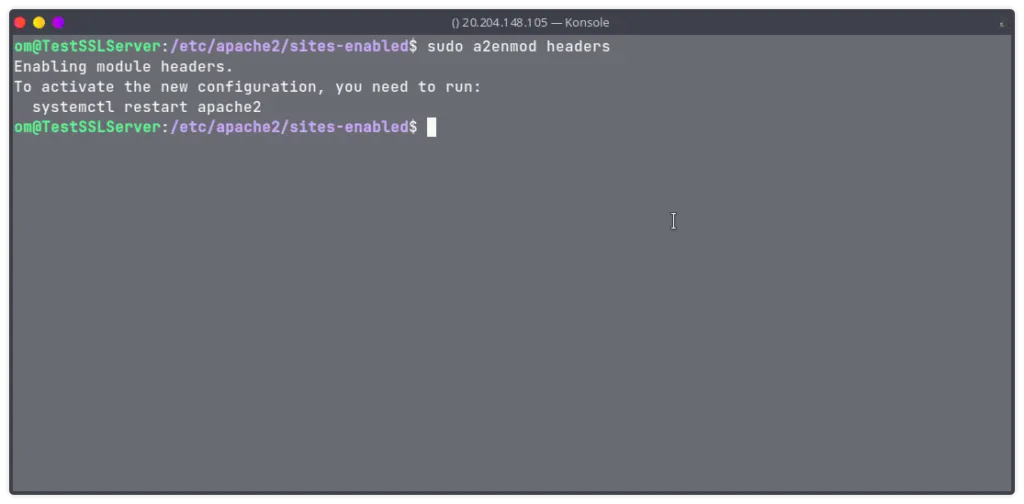
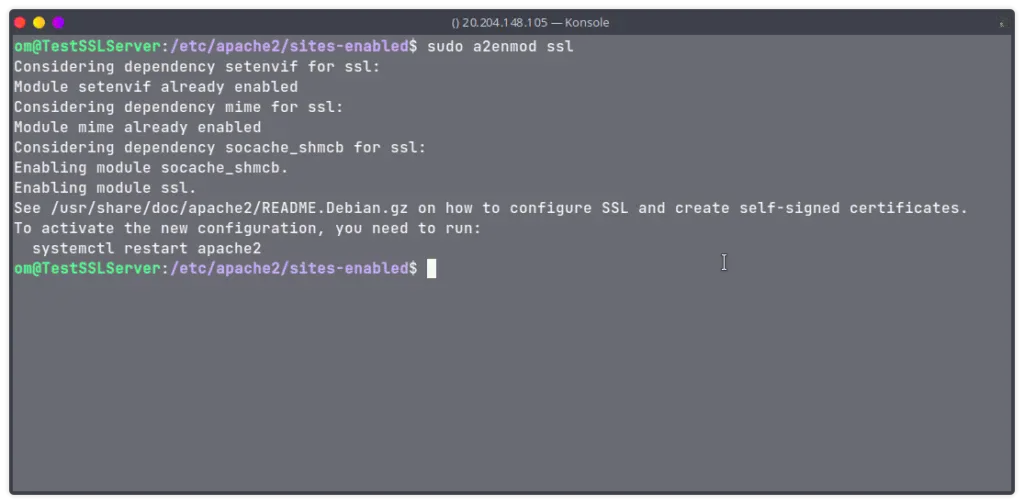
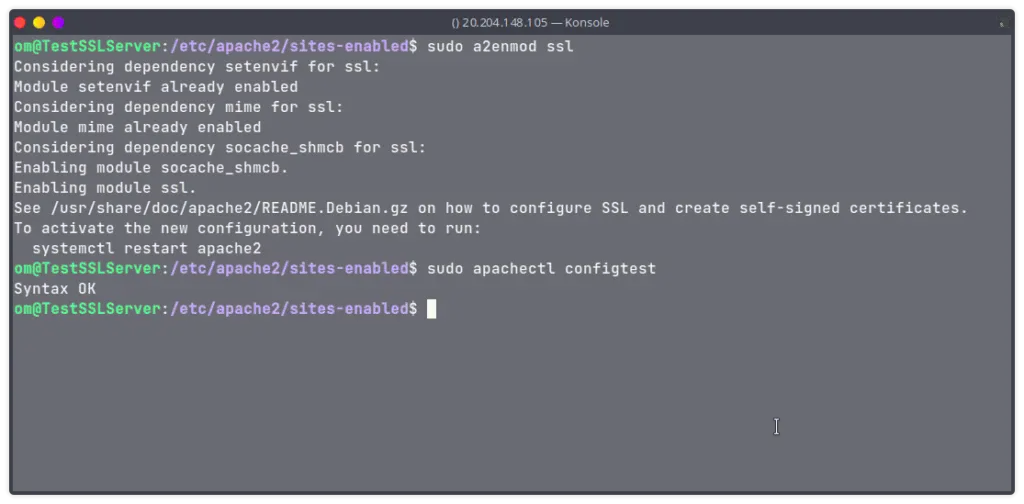
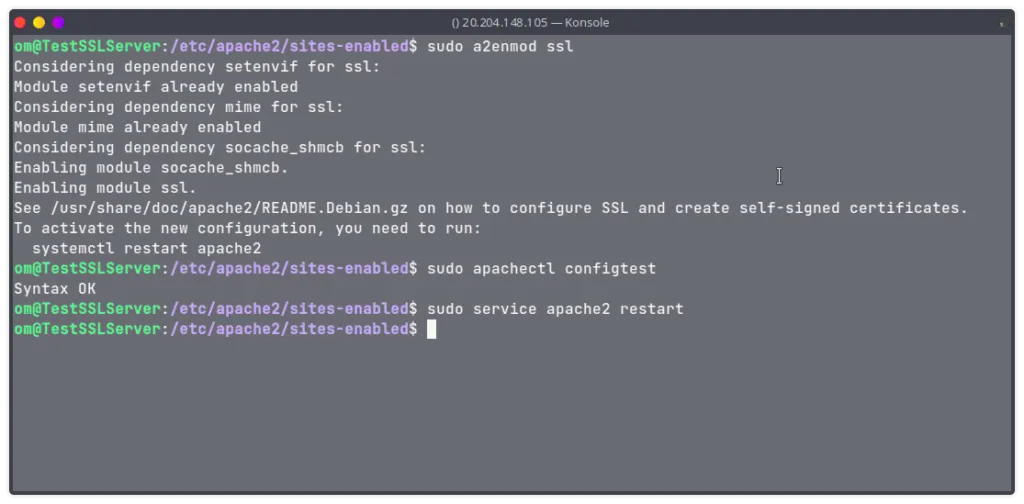
Finally, you have completed all the steps for SSL. Just open your website with HTTPS, it should work now :)
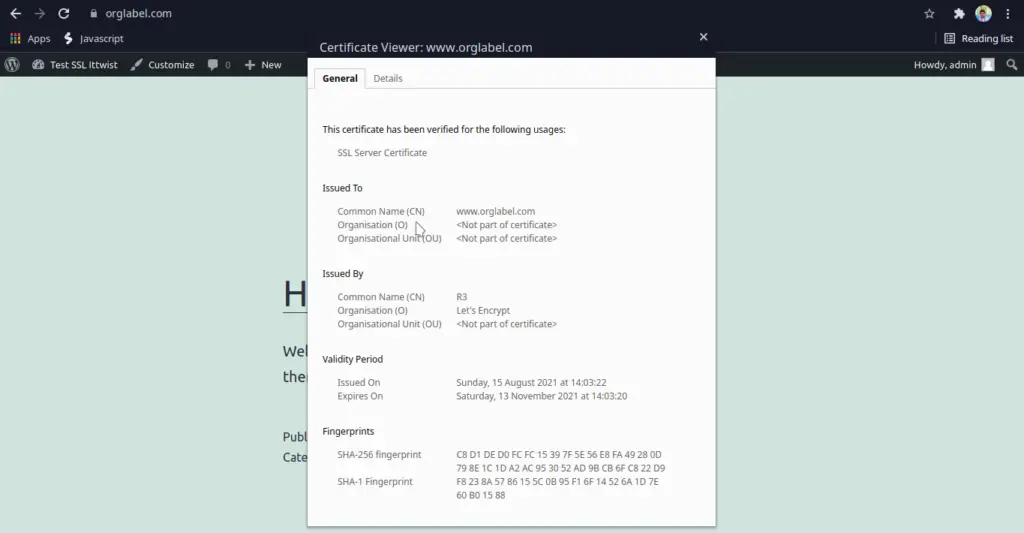
If you need more control over the SSL, you can install a plugin - Really Simple SSL. It has very cool features like 301 redirections, mixed content fixer, etc.
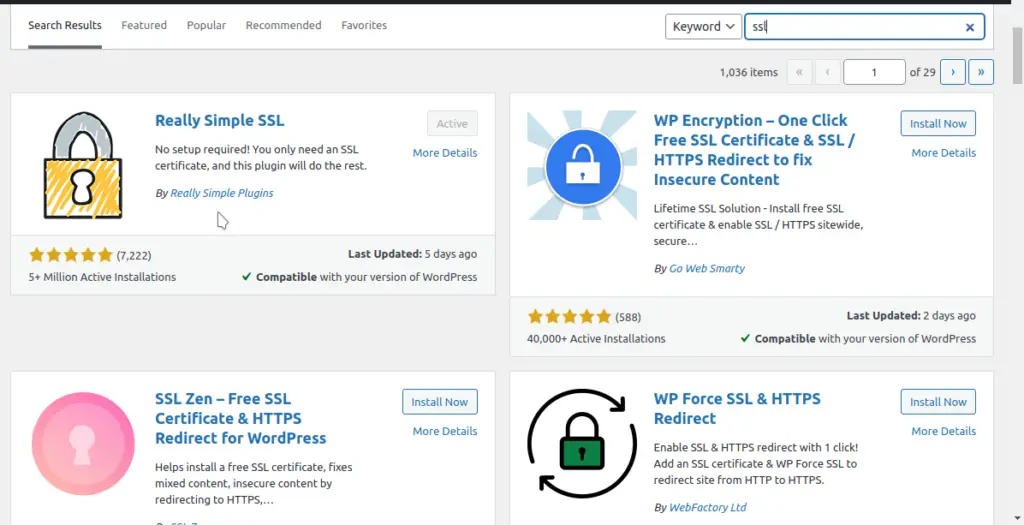
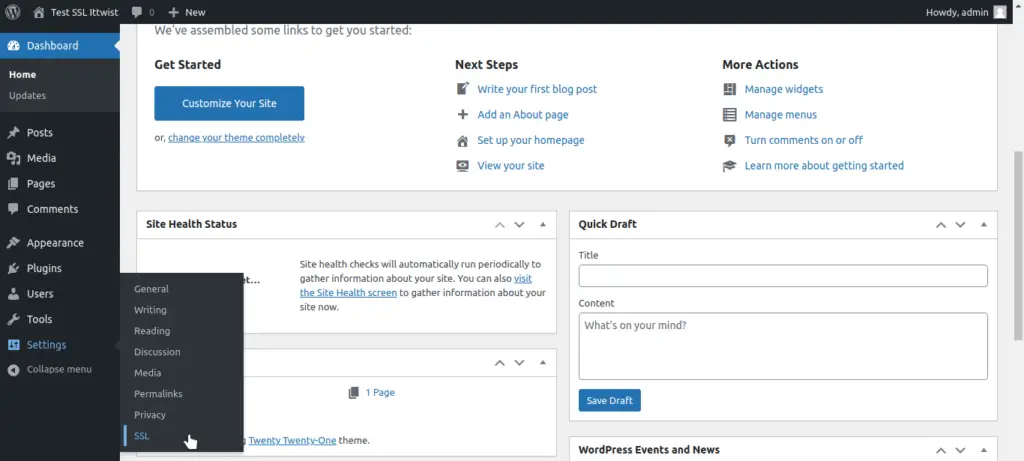
Go to Settings, then click on SSL.
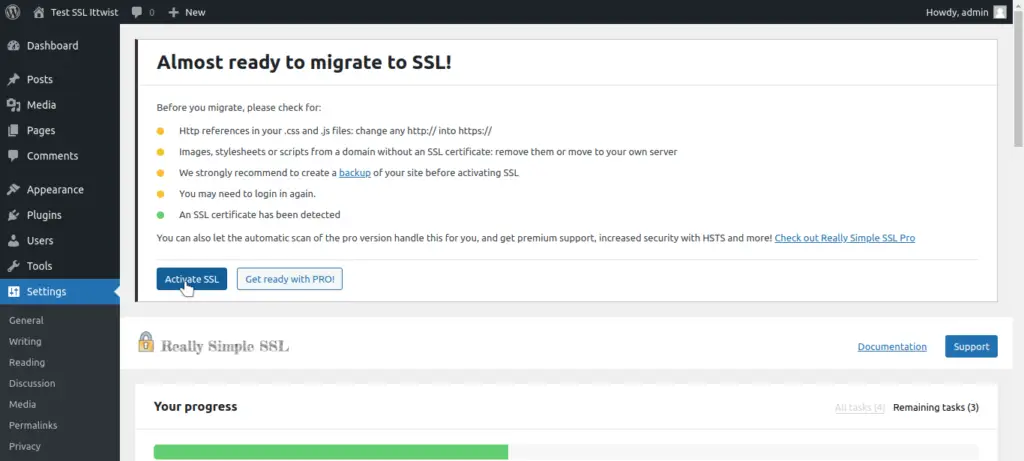
Click on Activate SSL & Enjoy.
In this way, you can set up a free SSL on Worpress - Linux Server with Apache. That's it for this article, if you have any query or suggestion, please feel free to write down in the comment section below.
Leave a Comment

Popular Posts

